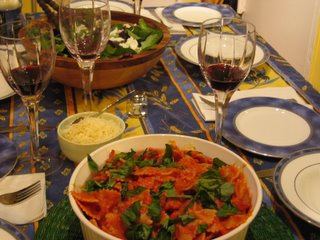
I love dinner parties—especially Gemma’s. Gemma is our English friend who moved over to the states for college and never left. Lucky for us, she brought over her English ways of hospitality, which include her fabulous dinner parties (dinner parties are very popular in England).
Gemma is a great cook as she is really not afraid to try any recipe, and if she finds a particular dish a challenge to make, it gives her all the more reason to keep trying it until she gets it perfect. Such a good friend to have…
Last Sunday evening Gemma and her husband, Sebastian (a 6’8” Californian), hosted six of us for dinner. Since it was a “work night,” the evening was a bit more chill than usual (her last event was a champagne brunch which began at 12 noon and ended at 11pm) but the food was of course just as great.
The following was the menu:
Mixed Greens Salad with Goat Cheese, Walnuts, and Balsamic Dressing
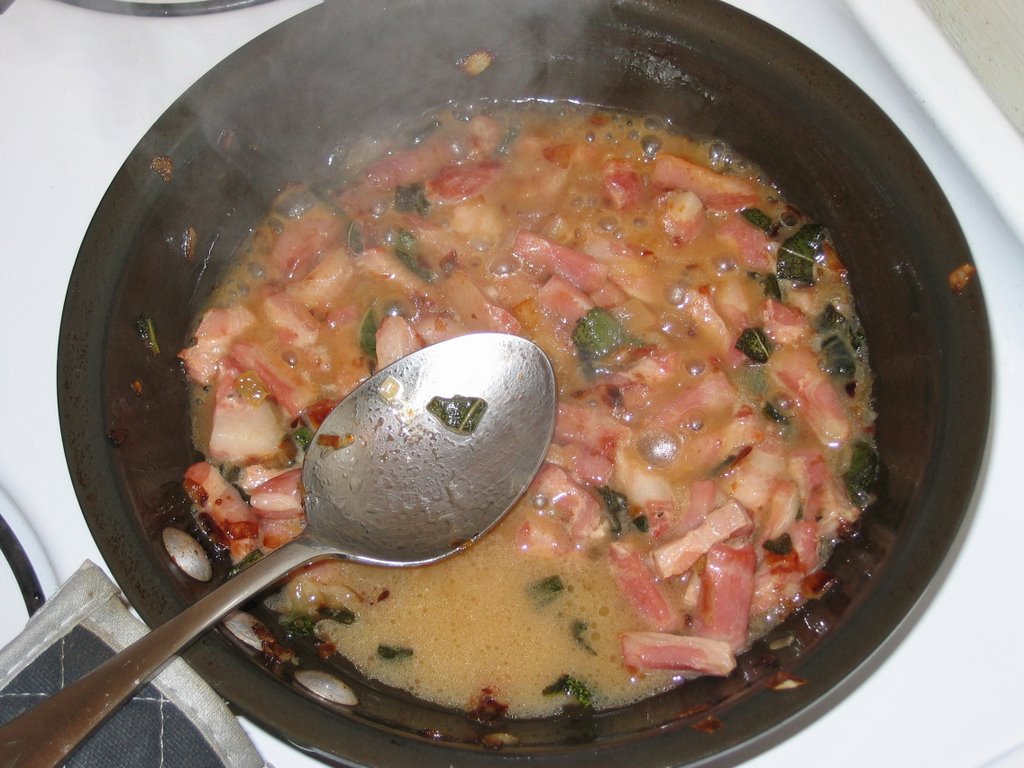
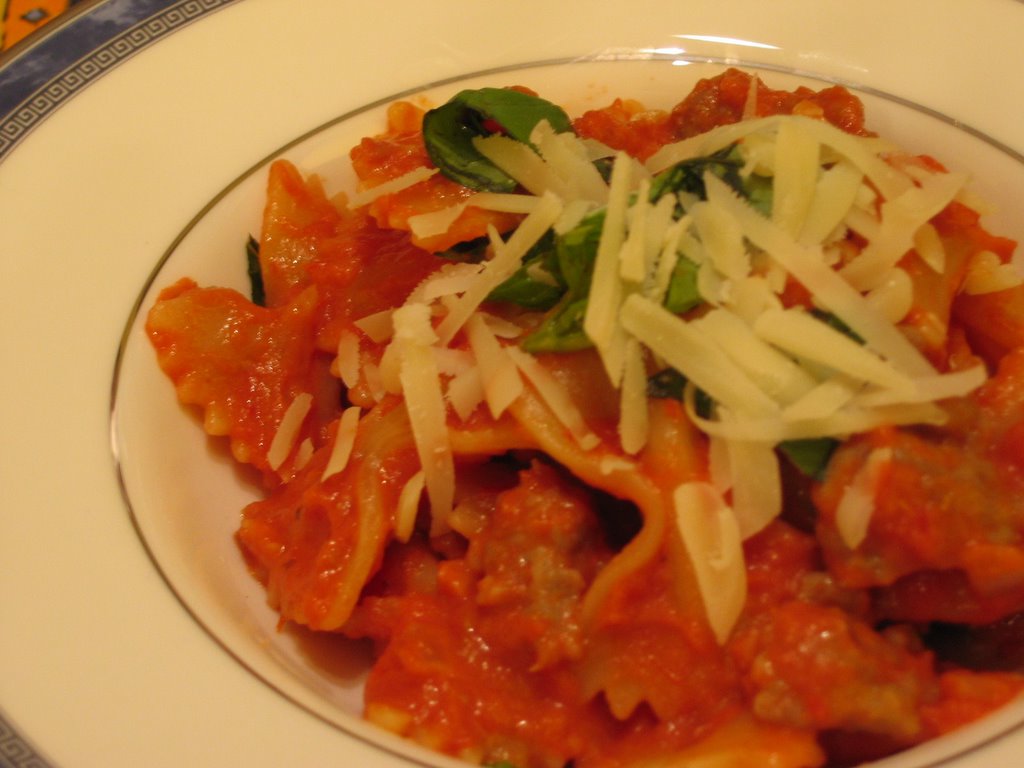
Farfalle with Sausage, Tomatoes, and Cream
Baked Ricotta and Mascarpone Tart with Chocolate and Orange
Since Gemma is a pro at giving these dinner parties, she was smart to keep the salad simple (but tasty!) and the entrée was something she found in Bon Appetit’s January 2006 issue as being fast and easy. I think this is important when giving dinner parties because the last thing you want to do is be stuck in the kitchen the whole time slaving away. The key is choosing recipes that do not taste like they were “quick and easy,” which of course these recipes succeeded at.
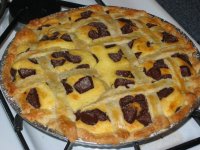 As often is the case, the dessert was the main attraction. This Gemma did slave away on all day. For starters, get this; she made her own pastry for the pie! Sebastian commented that when they woke-up Sunday morning, Gemma’s first words were, “I’ve got to get started on the pastry!” She was disappointed by the end results (aren’t all artists their own biggest critics?), but I thought it tasted great.
The pie filling was very unique by combining both chocolate and orange flavors with the ricotta and mascarpone. If you are up to the challenge, I do recommend that you try this recipe. And keep in mind that you can buy the pie crust already made at the market!
Here are the recipes from the evening:
Mixed Greens Salad with Goat Cheese, Walnuts, and Balsamic Dre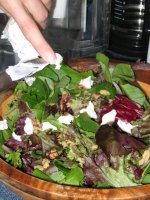 ssing
ssing
- Bag of mixed greens
- Goat cheese
- Couple handfuls of toasted walnuts
- Balsamic dressing (balsamic vinegar and olive oil mixed)
Simply mix all ingredients together. You can toast the walnuts in the oven or stovetop, but keep an eye on them as they can burn quite quickly.
Farfalle with Sausage, Tomatoes, and Cream
Makes 6 servings.
Bon Appétit, January 2006, Cara Brunetti Hillyard, Hamilton, VA
- 2 tablespoons olive oil

- 1 pound sweet Italian sausages, casings removed
- 1/2 teaspoon dried crushed red pepper
- 1 cup chopped onion
- 3 garlic cloves, minced
- 1 28-ounce can crushed tomatoes with added puree
- 1/2 cup whipping cream
- 1 pound farfalle (bow-tie pasta)
- 1/2 cup (packed) chopped fresh basil
- Freshly grated Pecorino Romano cheese
Heat oil in heavy large skillet over medium-high heat. Add sausage and crushed red pepper. Sauté until sausage is no longer pink, breaking up with back of fork, about 5 minutes. Add onion and garlic; sauté until onion is tender and sausage is browned, about 3 minutes longer. Add tomatoes and cream. Reduce heat to low and simmer until sausage mixture thickens, about 3 minutes. Season to taste with salt and pepper.Meanwhile, cook pasta in large pot of boiling salted water until tender but still firm to bite. Drain, reserving 1 cup cooking liquid. Return pasta to same pot. Add sausage mixture and toss over medium-low heat until sauce coats pasta, adding reserved cooking liquid by 1/4 cupfuls if mixture is dry. Transfer pasta to serving dish. Sprinkle with basil. Serve, passing cheese separately.
Baked Ricotta and Mascarpone Tart with Chocolate And OrangeServes 8
Jamie Oliver, “Jamie’s Kitchen”
- 1 x basic sweet pastry recipe (see below)
- 250g/9oz ricotta cheese
- 250g/9oz mascarpone
- 125g/41/2oz icing sugar
- zest of 3 oranges
- seeds from 2 vanilla pods
- 2 eggs, separated
- 100g/31/2oz best-quality cooking chocolate (70% cocoa solids), roughly chopped
- 1 egg, beaten
- icing sugar, for dusting
Make the pastry and line a loose-bottomed 28cm/11 inch flan tin. Bake blind (i.e. with no filling) and allow to cool. Roll the extra pastry out to the same thickness in a long rectangular shape, dusting as you go, and divide into 14 strips 2.5 cm/1 inch wide. Set these aside - you will need them to finish off the tart.
 Turn the oven down to 170°C/325°F/gas 3. Whip together the ricotta, mascarpone, icing sugar, orange zest, vanilla seeds and egg yolks until smooth and shiny. In a separate bowl whip up your egg whites until stiff - you can test if they're done by holding the bowl upside down over your head. Obviously the mixture should stick to the bowl and not fall on your head! Gently fold the egg whites into the mixture.
Pour into your cooled tart mould and sprinkle the chocolate over the top. Lay 7 strips of pastry across the tart, equally spaced, and then place the other 7 the other way on top of them like a lattice. Use your thumbs to trim any excess pastry off the side of the mould - this will stick it to the pastry below. Brush the pastry with a little of the beaten egg and then dust with a little icing sugar. Bake in the preheated oven for 40-45 minutes.
This tart can be served hot or cold with some ice cream, crème fraiche or cream.
Sweet Pastry
- Make 2 x 28cm / 11 inch Tart shell
- 250g/9oz butter200g/7oz icing sugar
- a medium pinch of salt
- 500g/just over 1lb flour
- seeds from 1 vanilla pod
- zest of 1 lemon
- 4 egg yolks
- 2-4 tablespoons cold milk or water
You can make this pastry by hand or in a food processor. This is enough to make 2 x 28cm / 11 inch Tart shells
Stage 1: Cream together the butter, icing sugar and salt, then rub or pulse in the flour, vanilla seeds, lemon zest and egg yolks. When this mixture has come together, looking like coarse breadcrumbs, add the cold milk or water. Pat together to form a ball of dough. Lightly flour and then squeeze it into shape. The idea is to get your ingredients to a dough form with the minimum amount of movement, i.e. keeping your pastry flaky and short (the more you work it the more elastic it will get, causing it to shrink in the oven and be chewy, and you don't want that to happen).
Stage 2: Roll the pastry into a really large, short and fat sausage shape, wrap it in Clingfilm and put it in the fridge to rest for at least 1 hour.
Stage 3: Carefully slice off very thin slivers of your pastry lengthways. You can make the slices thicker if you like, but remember that the tart will take longer to cook. Place the slivers all around your tart mould, fitting them together like a jigsaw. Push the pieces together and tidy up the sides by cleaning any excess pastry from the rim of the mould. Place in the freezer for at least 1 hour.
Stage 4: Bake them 'blind' (i.e. with no filling) for around 15 minutes at 180°C/350°F/gas 4 - this will cook them all the way through, coloring them slightly.
Once completely cooled, the shells can be filled. With baked fillings, like the Plum Tart on page 295, the tart shell has to be baked blind for around 12 minutes at 180°C/350°F/gas 4 before being filled and then baked once more.
Try this: Once your tart shell has been baked blind, brush the inside of it with a little egg white and then put it back in the oven for 30 seconds - no longer. This will give it a nice waterproof layer which will protect it from a moist filling. The pastry will stay crumbly and crisp for longer instead of going all soggy.
Labels: cheese, dessert, Miscellaneous, pasta, salad
 On a recent Sunday afternoon, I was craving comfort food (i.e., something really unhealthy). As I watched The Food Network, one of the shows featured a macaroni and cheese dish. It looked incredible and was exactly what I was in the mood for; however, I didn’t want to make some huge casserole dish. I do have my limits when eating super unhealthy dishes so I needed to come up with my own single serving version.

 1 large serving of shell pasta (or 2 small servings)